How To Free Up Time In The Kitchen By Freezing Baby Food
Is your baby ready for soft foods? Are you wanting to make soft foods for her at home?
Making homemade baby food for our Little One was something that my husband and I agreed upon early on. We knew we wanted to provide our baby with the best vitamins and nutrients we could.
So we did just that. We made homemade baby food. Everyday. For about a week and a half.
It’s not that making homemade baby food is hard. It just took more time than we wanted to spend, day in and day out. So we decided that if we were going to continue providing our baby with the best then we were going to have to come up with a new plan.
More...
So we decided to freeze baby food. Instead of spending about 20 minutes to an hour start to finish everyday, or every couple of days, we would spend a couple of hours once a month and prepare meals to save and use later.
Freezing baby food makes life so much easier because:
- You now have options when it comes to feeding your baby. Pre-cooking different foods allow you to pick from a variety of options without having to cook a five course meal.
- It’s handy for emergencies or if you are sick (which in my house that is an emergency). It’s also handy for when you have a babysitter and not worrying about what she is (or isn’t) making for your baby.
- It allows you to serve portioned meals which takes out the guessing of how much you’re giving your baby.
- And my favorite… no more having to cook everyday!
What You Will Need

Because puree recipes vary, I’m not going to include cooking items in this list. This list is ONLY what you’ll need for the freezing process:
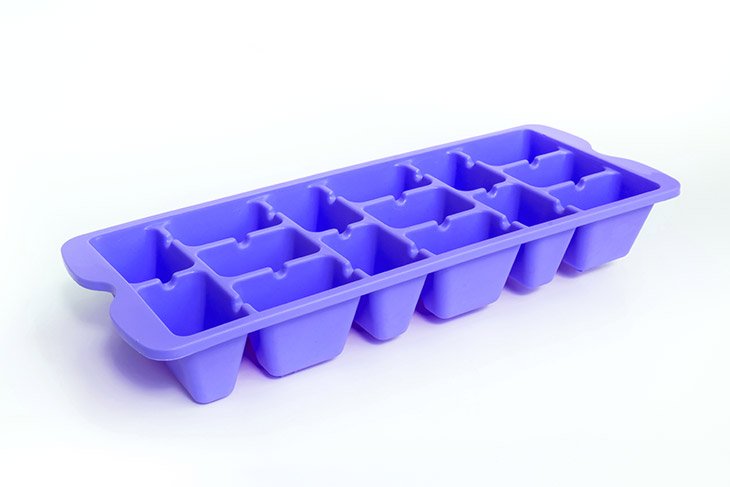
- Ice cube trays - Here are some options that I found on Amazon:
- Plain, original ice cube tray
- Ice cube tray with a lid
- Baby food freezer trays
- Gallon size freezer bags
- Aluminum foil or plastic wrap (if you’re using plain, original ice cube trays)
- Permanent marker for labeling
If you don’t have access to the ice cube or freezer trays you can use alternative methods. These are not as space friendly, but they will get the job done.
- Silicone muffin pan
- Baking sheet
Let’s get started!
Step 1: Cooking The Puree

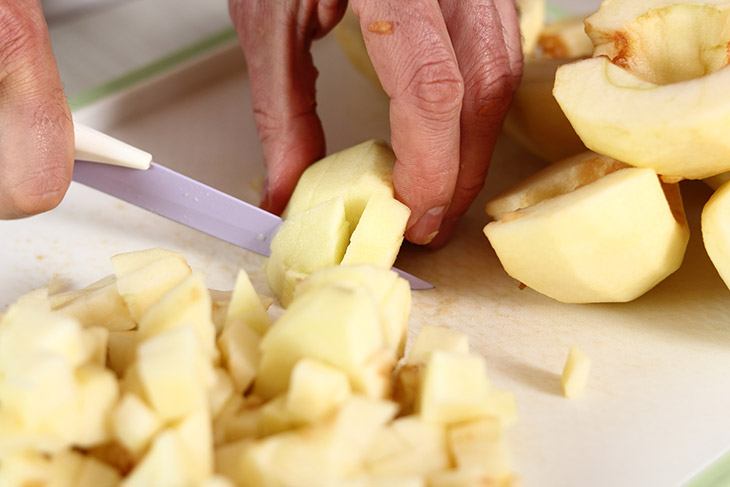
You’ll want to make your baby food puree first. We usually cook 2 fruits, 2 veggies, and 1 meat and make 16oz (one pound) of each. Use recipes you prefer, or if you are looking for new recipes, or this is your first time I recommend going to wholesomebabyfood.com. This site has a lot of great recipes for your baby.
To make it time efficient we set up a system, an assembly line if you will. While I cook, my husband cools and then purees. We call this the ‘one pot method’ because it helps create less dishes so we’re not spending our day cooking and cleaning.
Almost any food you cook can be frozen and thawed for later eating, however, there are some foods that freeze better than others. Here is a list of the foods that freeze the best:
- Blueberries
- Peaches
- Squash
- Carrots
- Sweet Potato
- Peas
- Green Beans
- Cauliflower
- Corn
Step 2: Setting The Cubes
So you've made your puree and it came out to a great consistency. Now what?
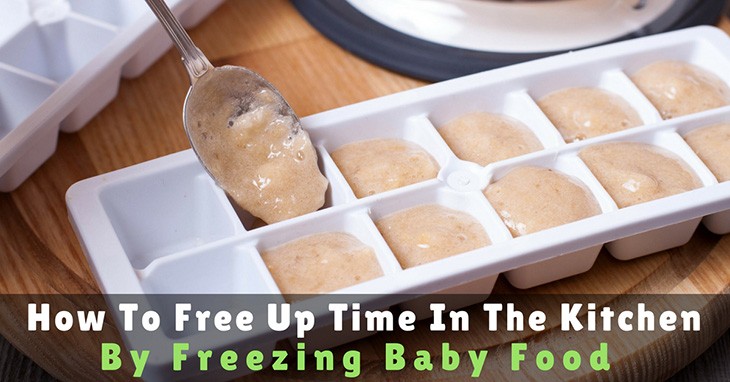
Now it’s time to put it in the ice cube tray or freezing container. Fill each cube with the puree until the tray is full. You’ll do this for each food you have prepared.
If you’re using plastic ice cube trays then cooling the puree before filling them is recommended. Putting hot food into a plastic tray can cause chemicals from the tray to get into the food. If you’re using a silicone or stainless steel tray then this is a non-issue.
Another reason for cooling first is putting hot food into the freezer, especially if you’re putting in several trays, can alter the temperature inside the freezer which may cause bacteria to growand affect the food you’re putting in along with the rest of the food already in the freezer. It doesn’t have to be ‘cold’, you just don’t want it to be too hot to where it’s steaming.
If you’re using a muffin pan you’ll fill the cups the same as the ice cube trays. If you’re using a baking sheet you’ll use a spoon or small ice cream scoop and put dollops of puree on the sheet (as if you were making a batch of cookies). When using a baking sheet you want to make sure that your puree isn’t too runny. Wholesomebabyfood.com shows a good example of the consistency you want for your baby food if using a baking sheet.
Before you put your trays into the freezer you’ll want to cover them. If you’re using ice cube trays that don’t have a lid you’ll want to use either aluminum foil or plastic wrap to cover the trays. If covering a baking sheet you’ll want to loosely cover it so that it doesn’t stick to the puree during freezing.
Step 3: Freezing The Cubes
After you’ve covered your trays you’ll want to label them before putting them into the freezer, especially if you have foods that look similar (i.e. sweet potatoes and carrots). Labeling is also useful if you’re going to make this a two or three day event. You will want to label the date at which you put them in the freezer.
Allow your puree to freeze for about 24 hours. Just as you would check with ice, you want to make sure it is completely frozen before transferring it out of the trays.
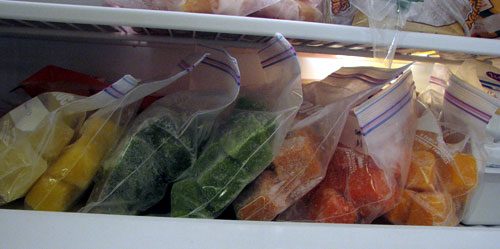
Once your puree is completely frozen you’ll want to take it out of the trays and put it in your gallon size baggies. This will help save room in your freezer as well as freeing up your trays for the next round of puree cubes.
If you have a hard time getting your cubes out of the trays you can fill the bottom of your sink with warm water to set the trays in. This will slightly warm up the tray enough to loosen the cubes without thawing them.
Fill each bag with each tray of cubes. Label each bag with the puree name and the date they are put in the freezer. You can freeze baby food for 3-6 months, however, it’s recommended to use the food within 1-3 months to guarantee the taste quality of the food.
Step 4: Thawing And Eating The Cubes
At about 6 months old babies eat between 6-8 oz of solid food a day. The ice cube trays are typical 1oz each cubes making it easier when portioning food for your baby.
When you’re ready to thaw your puree take as many cubes as you think you might need for meals for 1-3 days. Once thawed the baby food will last a maximum of 72 hours.
Methods of thawing are:
- The refrigerator - This is the safest and most natural method for thawing your baby food. Make sure to put the cubes in a sealed container. Total time = 10-12 hours
- The microwave - This is definitely the quickest method. Thaw at 20 second increments and stir in between heating. Total time = about 2 minutes
- The ‘warm bath’ - Place the cubes into a small bowl and set the bowl into a large bowl of hot water. Total time = 10-20 minutes
NEVER refreeze thawed baby food! This can cause food poisoning.
NEVER store baby food in a container that your baby has been eating out of! This can also cause food poisoning.
Quality Food Without Sacrificing Quality Time
As a parent, I’m sure you can think of a million other things you could be doing with your time than spending it in the kitchen everyday making homemade baby puree. That is why my husband and I decided to start freezing our baby’s food. We were still able to provide quality foods and meals for our baby without having to sacrifice our time and energy.
You shouldn’t have to choose between healthy, homemade food for your baby or spending more time with your family having fun, or just relaxing. Start freezing baby food today and enjoy those extra minutes with that Little One (because as you and I know, they grow up so fast).
Did you find this article helpful? If so, let us know in the comments below.


